|
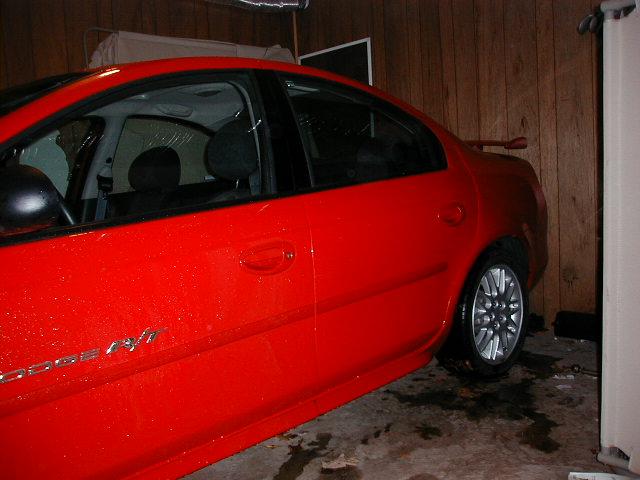
I like to work one corner at a time. I chose to do the drivers side front first.
- Break lug nuts loose.
- Jack up car and put on jackstand.
- Remove wheel.
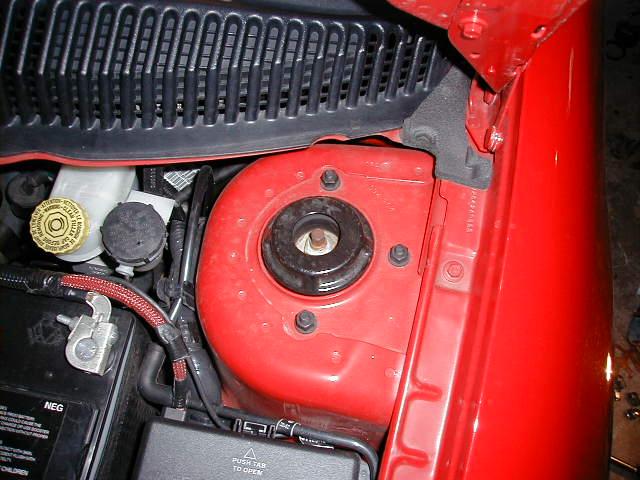
- Pop hood and loosen the 3 nuts on top of strut tower pictured above.(13mm) While you are at it, spray some penetrating lube on the center top nut that is on the strut shaft.
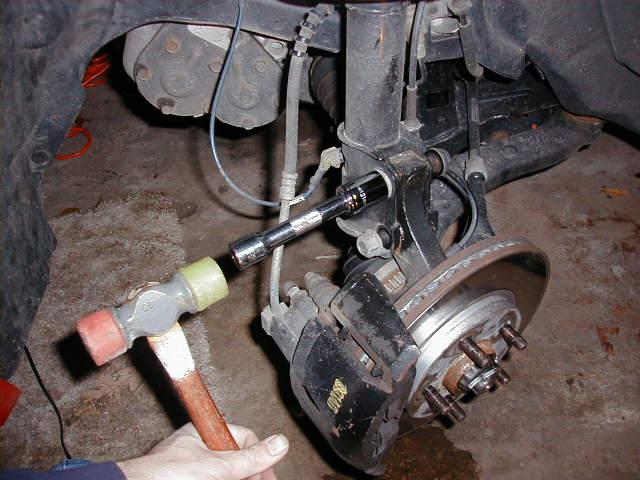
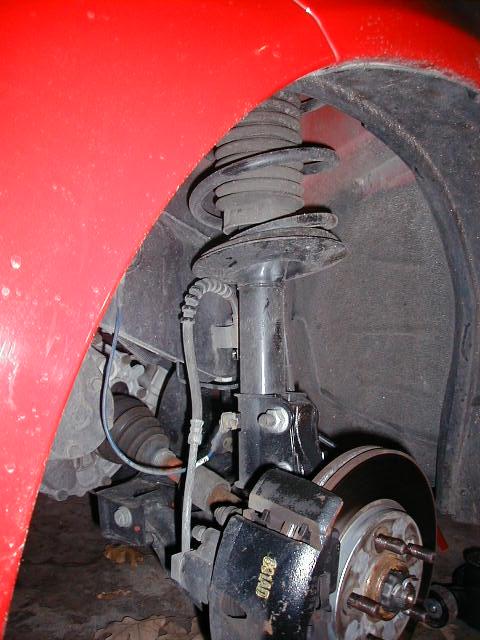
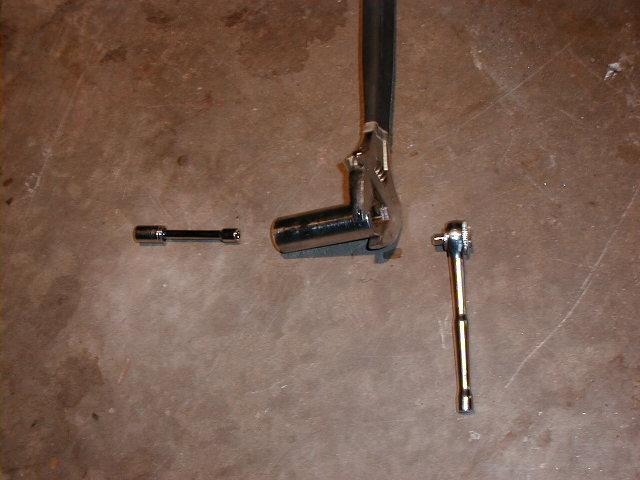
6. Hammer bolts out taking care not to damage threads. (Note I screwed nuts back on and placed socket and extension on nut and hammered on the extension with a mallet)
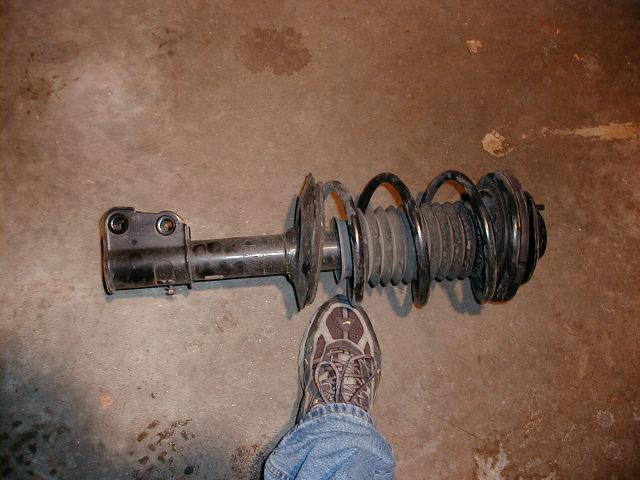
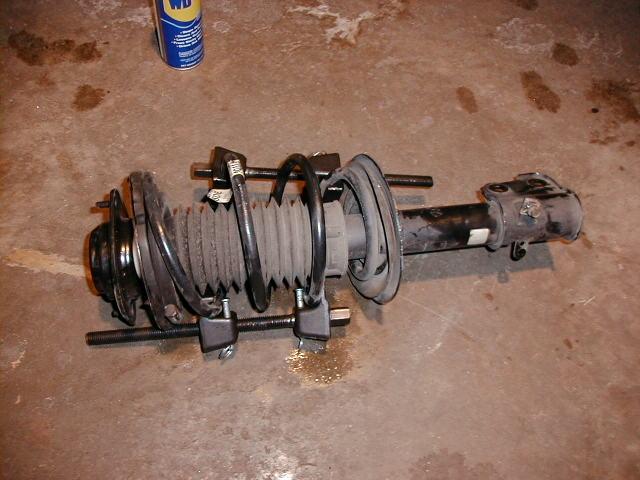
Off the car it will look like this.
8. Put the spring compressors on the spring and tighten them down until the spring is no longer pressing against both ends.
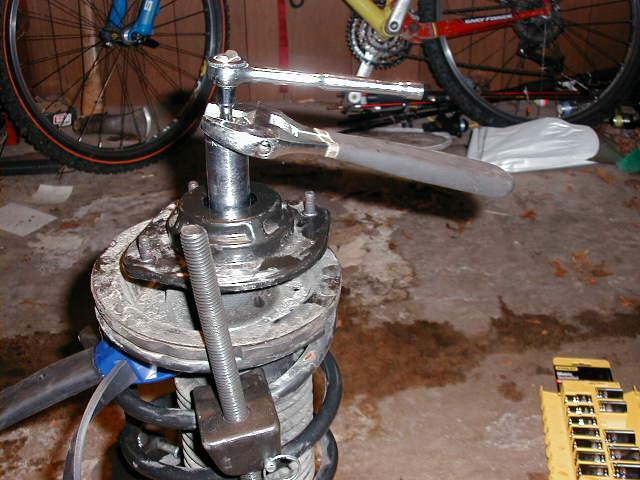
Here is what it looks like put together on the strut. The 21mm deep well is on the nut on the strut. Inside it, the 10mm socket and 1/4 inch drive extension grip the strut shaft itself. Notice the strap wrench on the strut shaft above the dust boot. In order to use the strap wrench you need to clean the strut shaft with acetone or similar solvent to make sure it is free of all lubricants. Otherwise it will not grip. The strap wrench is there only to supplement the 10mm socket on the 1/4 inch drive in keeping the strut shaft from rotating when you loosen the top nut on the strut. I've done it before without the strap wrench but I broke a couple of 1/4 inch extensions in the process.
9. Loosen 21mm top nut utilizing contraption pictured and described above. I've heard that if you use air tools all of this mess isn't necessary.
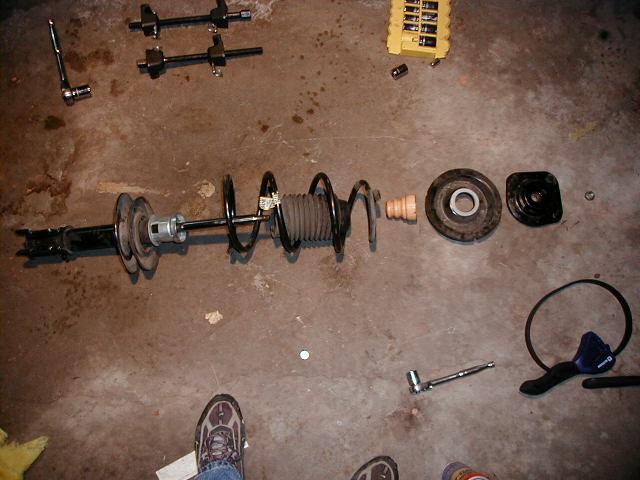
With the top nut removed the strut can be taken apart.
11. Install new spring and re-assemble strut the same way you took it apart. You shouldn't need to compress the spring since the lowering springs are shorter.
12. Put strut and spring back on car, following the same steps as removal only in reverse order.
13. Do passenger side following same steps as drivers side.
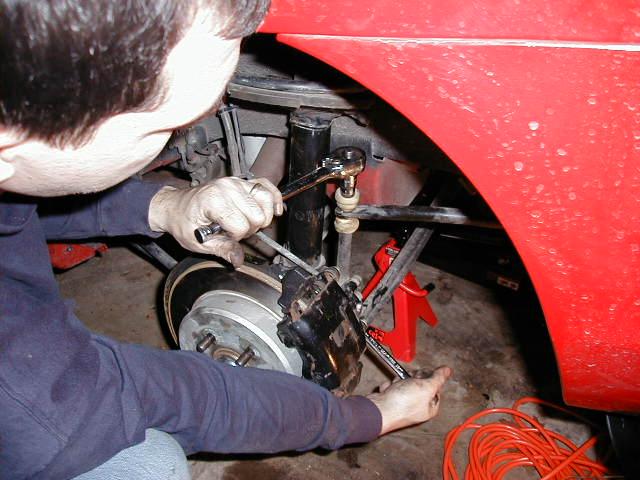
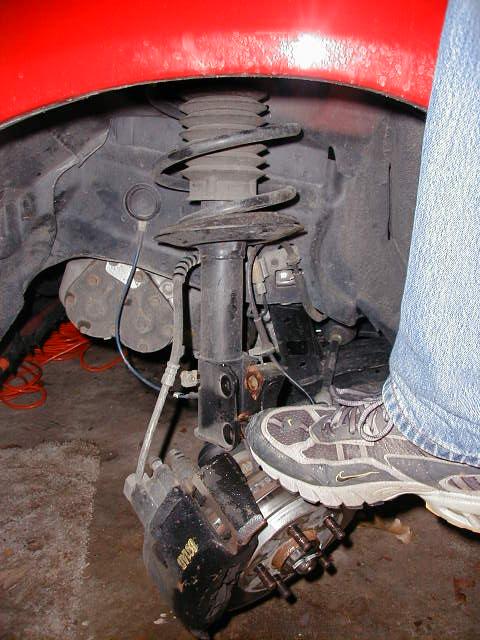
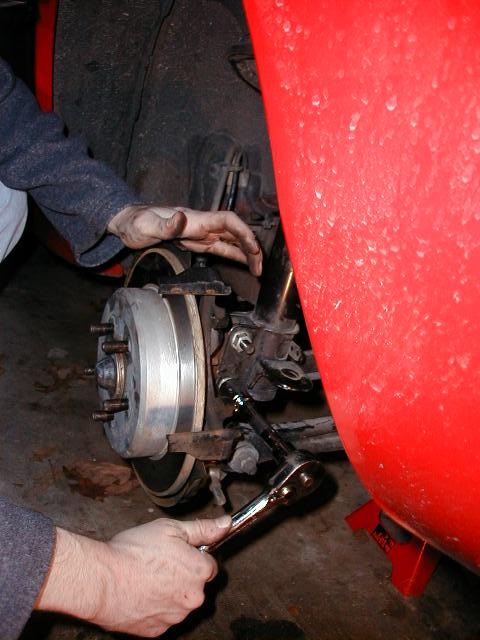
14. Now move to the rear of the car and begin on either side. Replacing the rear springs will require two extra steps in addition to the ones mentioned for the front. You will need to remove the endlink bolt that connects the swaybar to the rear strut. This is done with a 13mm socket on top and a 13mm wrench on the bottom as pictured above.
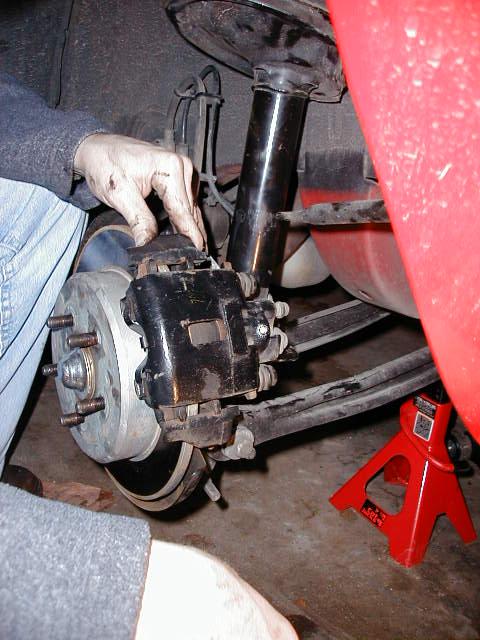
15. The other "extra step" is removal of the rear brake caliper. (If equipped with four wheel disc) This is done by removing the two 10mm bolts on the back side of the caliper. This step is necessary in order to access the large 21mm bolts on the bottom of the strut. (DO NOT press brake pedal with caliper removed or you will have to compress it before reinstalling it)
16. Once you remove the brake caliper, the strut can be removed and the spring replaced following the same steps outlined for the front struts.
Both rear struts require brake caliper removal for lower bolt access.
|